Import & Export
Both live in the ⋮ (more) menu on the Campaigns page — go to the Campaigns tab, click the three dots, and choose Import or Export.
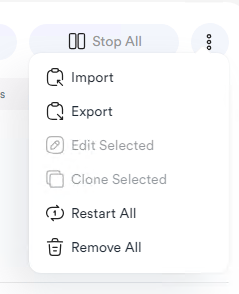
Import
You can import campaigns four ways: a plain text file, a previously exported campaign file, an RSS feed, or a sitemap.
From a text file
One task per line, in the format:
keyword:website.com
keyword2:website2.com
For direct traffic without keywords, put only the webpage address per line. After selecting the text file, choose an existing campaign to clone — the imported tasks inherit that campaign's settings.
If you haven't created any campaign yet, create one sample campaign first — the text-file import needs it as the settings template.
From a campaign file (.json / .atb)
Re-import campaigns you exported earlier — on the same machine or another one. Just choose the file and click Load; no template campaign is required (you can still pick one if you want to change the settings).
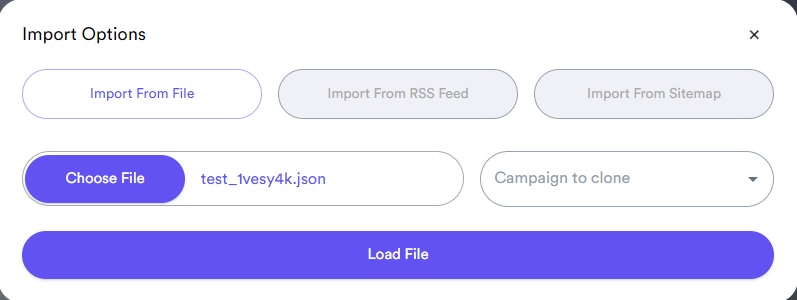
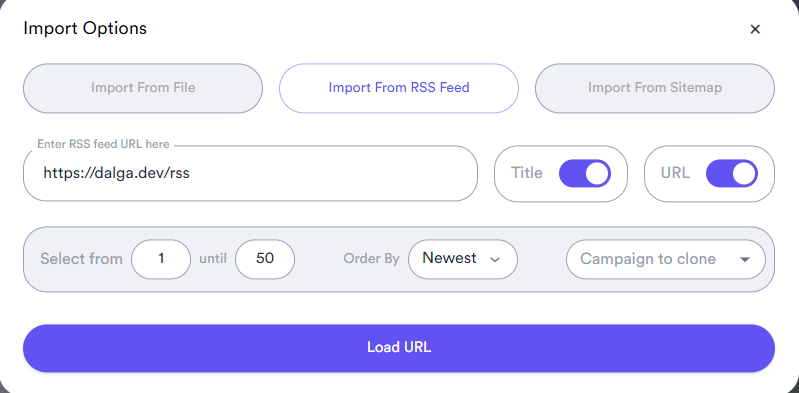
From RSS
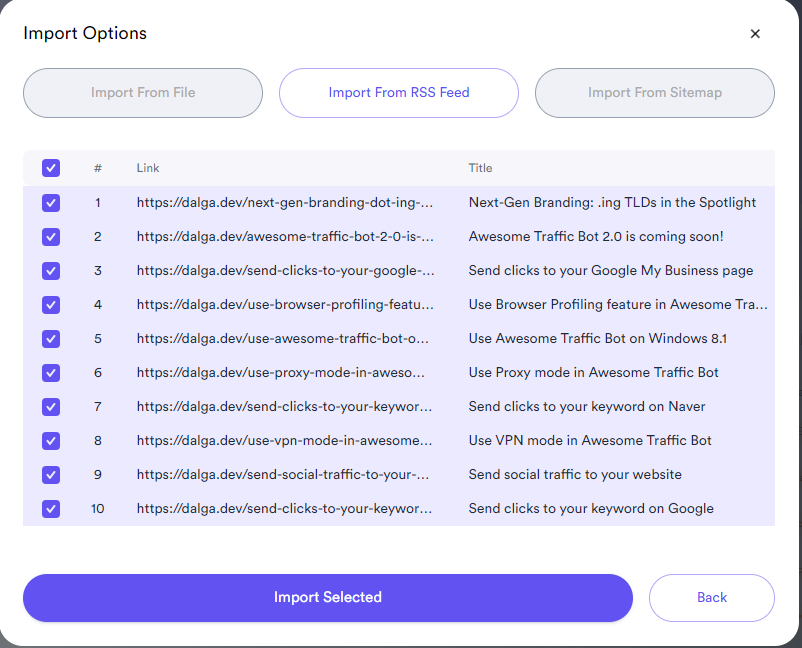
RSS is a machine-readable feed of a website's latest content. Instead of adding each article URL by hand, point the importer at your feed address (make sure it includes articles) and choose how many articles to import — each becomes a task with its title as the keyword and its URL as the target. The fastest way to cover a whole blog.
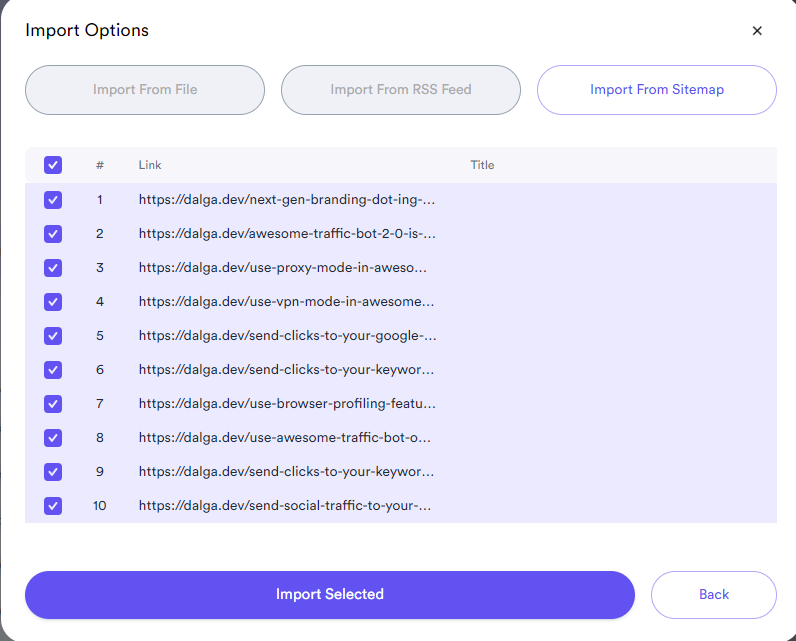
From a sitemap
The same idea as RSS, but from a sitemap URL. Sitemaps return only the URLs (no article titles), so this suits direct traffic — or cases where you'll add keywords manually. When both are available, prefer RSS because it also brings titles.
Export
Select the campaigns you want to export (or select none to export all), then ⋮ → Export and choose what to export:

Export settings
Produces a .json file of the selected campaigns (or all, if none selected) for backup or moving to another device.
Exports carry campaign settings only — not saved browser profiles, account cookies, or logs. To move everything, copy the database file from the installation folder: <install dir>\DB\data.db (default install dir: C:\Program Files (x86)\DalgaDev\Awesome Traffic Bot).
Export report
Generates a .CSV report with per-campaign performance details — sent visitors and session outcomes — for the selected campaigns or all of them.