The Campaign Wizard
Click New Campaign on the Campaigns page to open the wizard. It has four stages: how to start, campaign settings, the connection, and tasks.
Step 0 — Choose how to start
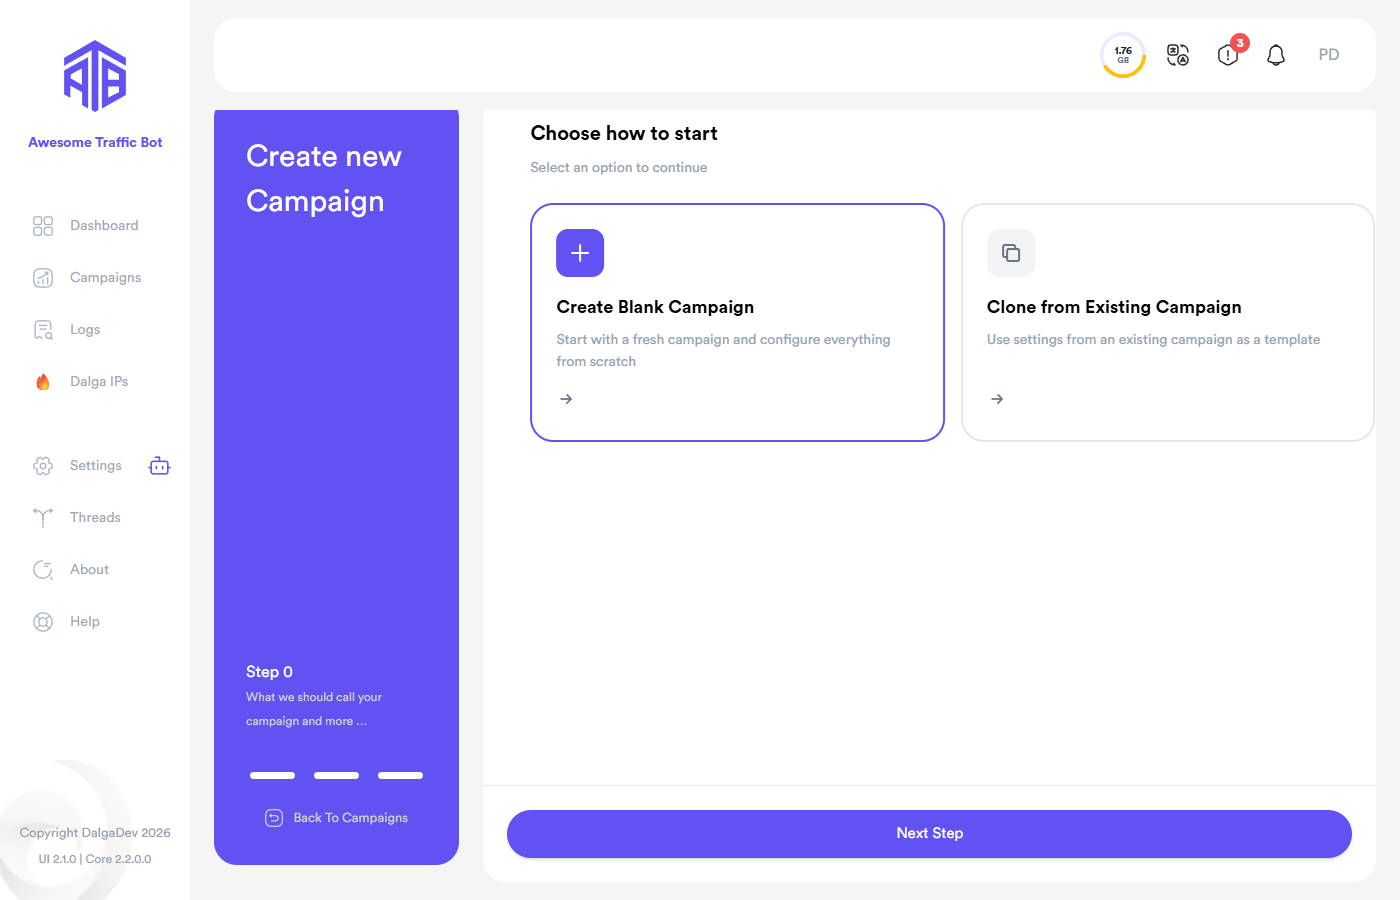
- Create Blank Campaign — start from scratch.
- Clone from Existing Campaign — pre-fill every setting from a campaign you pick; ideal once you have a template campaign you're happy with.
Your choice is remembered for next time.
Step 1 — Campaign Settings
Name, visitor volume, device mix, feature toggles. Every field is documented in Campaign Settings.
Step 2 — Changing IP
Pick Dalga IPs, Manual Configuration (PPPoE/Fritzbox, Proxy, Android Phone, VPN), or None. Documented in Connection setup.
Step 3 — Tasks
Add what each visitor should do — in the Classic form editor or on the Flow canvas:
With several tasks you can toggle Randomize Tasks Order and set a per-task Exe Chance (the percentage of sessions that run the task).
Finally click Create Campaign. The campaign appears in the list, ready to start. The create button also offers variants like create & run or creating on selected shared devices.
Editing later
Everything can be changed after creation — click the Edit (pencil) action on the campaign row to reopen the same wizard, or select several campaigns and use bulk edit from the ⋮ menu (with modify and overwrite modes). See the Campaigns page reference.